
Downhill Mountain Biking: Braking, Grip and Line Choice
Understand downhill MTB braking and traction, compare line options and trail grades, and separate a bike's equipment capability from rider readiness.
By ActionSportsHQ Editorial · Published · 5 min read
At a glance
- Braking and turning both depend on contact with the terrain; grip is not unlimited.
- A trail grade must be read with local conditions and the bike park’s guidance.
- Use the actual brake and suspension manuals; a bike’s travel figure does not prove rider readiness.
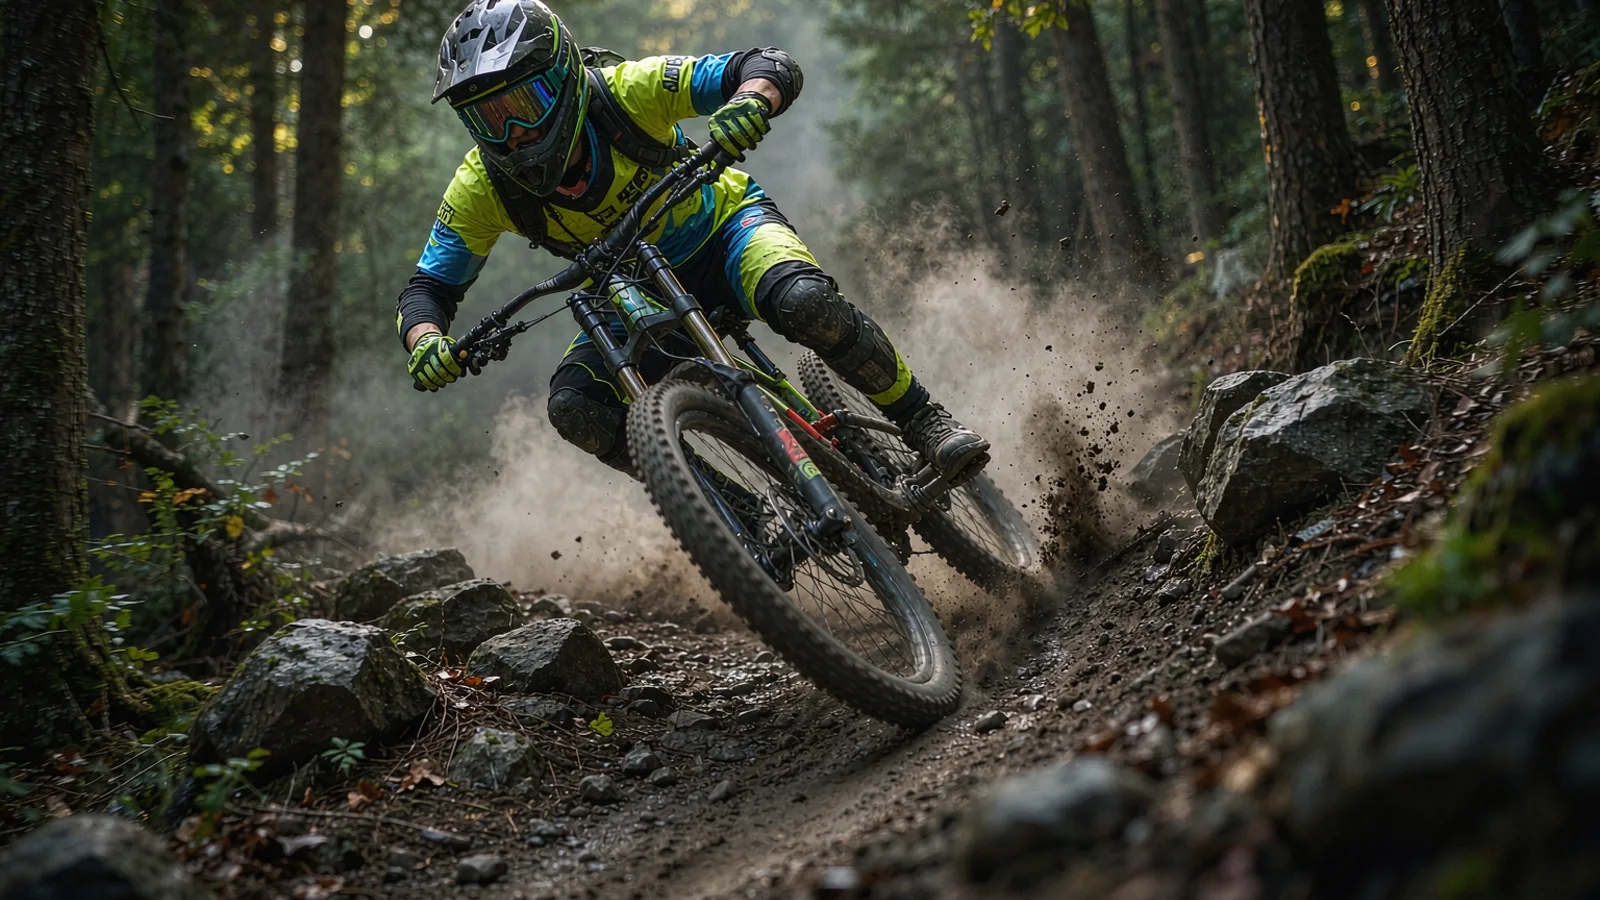
Downhill mountain biking combines descending terrain with decisions about braking, turning and features. Tires have to transmit both slowing and turning forces through changing ground contact. A useful line therefore includes an approach, a manageable speed change, the feature itself and a visible continuation or appropriate alternative.
Braking and turning compete for available contact
Tires transmit forces through their contact with the ground. Slowing and changing direction both demand grip, while roots, rocks, moisture and loose material can change the contact. A tire that is sliding cannot be assumed to provide the same directional control as a tire rolling with suitable grip.
This does not lead to a universal front-to-rear brake ratio. Bike geometry, brake design, slope and the rider’s movement vary. Learn controlled braking in an appropriate setting with a competent instructor rather than memorising a percentage from a generic article. Trek provides braking and trail-riding learning resources as part of its mountain-bike material. 1
Read the line with a stopping option
A line is more than the narrowest path between two rocks. Look at where the feature begins, what lies beyond it and whether the rider can stop or use an appropriate alternative. A feature requiring an unseen commitment is different from one that can be inspected and bypassed.
Observe bike-park signs and local instructions. Trail colours and grading conventions are not identical everywhere. A route ridden successfully in dry conditions may demand different decisions after rain or maintenance changes.
Compare a line by its sequence, not its narrowest gap
Imagine a trail splitting around a rock. One branch looks shorter but ends in a blind compression. The other is longer and allows the next section to be inspected. A photograph of the rock alone cannot establish which branch fits a rider’s current control. The entry, the feature and what follows all change the question.
| Part of a line | What to identify | Why it affects the decision |
|---|---|---|
| Approach | Visibility, surface and room to change the plan | Commitment can begin before the obvious obstacle |
| Braking area | Terrain and the task expected of the tires | A braking demand changes the available handling margin |
| Feature | Shape, surface and direction change | The same obstacle name can hide different geometry |
| Continuation | What follows, including a suitable stop or bypass | Clearing one obstacle does not finish the line |
This is a route-reading example, not a prescribed braking point or trail recommendation. Trek’s skills resources provide the learning context for braking and trail handling. 1 Use suitable coaching to relate those ideas to an actual bike and appropriate terrain.
A trail colour is another summary rather than a complete description. Ask the park what its grade means, whether there are mandatory features and whether current conditions have changed. A familiar colour at another venue does not identify the same task.
Use the bike inspection guide for the distinction between observing a fault and repairing it, while retaining the downhill bike’s own component instructions. Clothing and waiting at an exposed lift or trailhead are separate planning questions covered in mountain layering.
The bike needs component-specific preparation
Inspect attachments, tires, wheels, brakes and controls using the actual manuals. Suspension setup and service requirements depend on the products and their condition. A stated travel figure does not certify the entire bike for every impact, and copying another rider’s pressure does not establish the right setup.
Cycling UK’s inspection resources help organise the basic checks. 2 Downhill use may require additional checks specified by the maker, park or mechanic. After a crash, investigate changed behaviour before returning to the trail.
Choose protection for the use
Follow the venue’s equipment requirements and choose a helmet intended for the activity and relevant standards. Different standards address different intended uses; a generic mention of CE or ASTM is not enough to establish suitability. CPSC’s bicycle-helmet guidance describes the scope of the US bicycle requirement. 3
Protection does not make every trail appropriate. The rider still needs control, a suitable bike and the conditions to match the intended run.
Develop skills without a timetable guarantee
Work on a task appropriate to current ability, such as controlled braking or reading a simple section with an instructor. Progress should be judged by repeatable decisions and control, including recognising when to use an alternative. A faster lap or a larger jump is not the only useful outcome.
Fatigue, changing weather and reduced visibility can make a previously suitable task unsuitable. Reassess the session as conditions change. If the rider cannot explain the line and an appropriate exit before committing, the useful next step is more information or a simpler objective.
Reader questions
Should I use a fixed front-to-rear braking percentage on a downhill bike?
No single percentage describes every slope, bike, surface or movement. Both brakes belong to a handling system that needs practical instruction. Learn controlled braking with a competent coach and follow the actual brake and bike instructions.
Does long suspension travel mean a bike can handle any downhill trail?
No. Travel is one specification. Intended use, component condition, setup and rider control still matter. The trail's actual features and conditions must fit both the bike and the rider; a specification does not supply a qualification.
Sources and scope
Each reference supports the topic stated in its scope note. Worked examples are illustrative unless identified as measured results. Use current local information and the manual for your own equipment alongside appropriate practical instruction.
- Trek: mountain-bike skill resourcesManufacturer learning resources for trail riding and braking.
- Cycling UK: bicycle maintenance guidesGeneral bicycle inspection and maintenance background; use component-specific installation and torque instructions.
- CPSC: bicycle helmet requirementsThe US bicycle-helmet standard and the distinction from other sport helmets.
Continue reading
- BMX Pre-Ride Check: Wheels, Brakes and Bike Inspection
Organise a BMX pre-ride check and write a useful fault report. Download a reusable inspection log with clearly labelled fictional examples for a mechanic.
- Mountain Layering System: Base, Midlayer and Shell
Plan clothing for ascent, stops and the return. Use a downloadable layering field log and a fictional worked record to separate garment, fit and packing problems.
- Freeride Skiing: Powder Skis and Variable Snow
Understand freeride skiing through ski width, rocker and changing snow. Compare equipment trade-offs and check what off-piste management actually covers.